Other Topics
How a simple game boosted my coding confidence
Starting off this semester with coding was a real struggle. I still find some parts of it
difficult—especially more advanced CSS and JavaScript, but I've also made a lot of progress that I'm
genuinely proud of.
For example, I can now easily set up the basic structure of an HTML file. At the start of the
semester, I barely knew any HTML elements, like header, main, or footer, or
how to use div and section tags to properly structure a website. Now, I feel a lot
more confident with the basics and how everything fits together.
CSS, on the other hand, is… a lot. There's so much to think about, and I know I still have a long
way to go. But I do feel way more comfortable with basic styling now. One of the most helpful
moments was during a development class when our teacher introduced us to Flexbox Froggy, a game that
teaches flexbox visually. I played through all the levels a few times and, finally, the core
concepts of flexbox started to click.
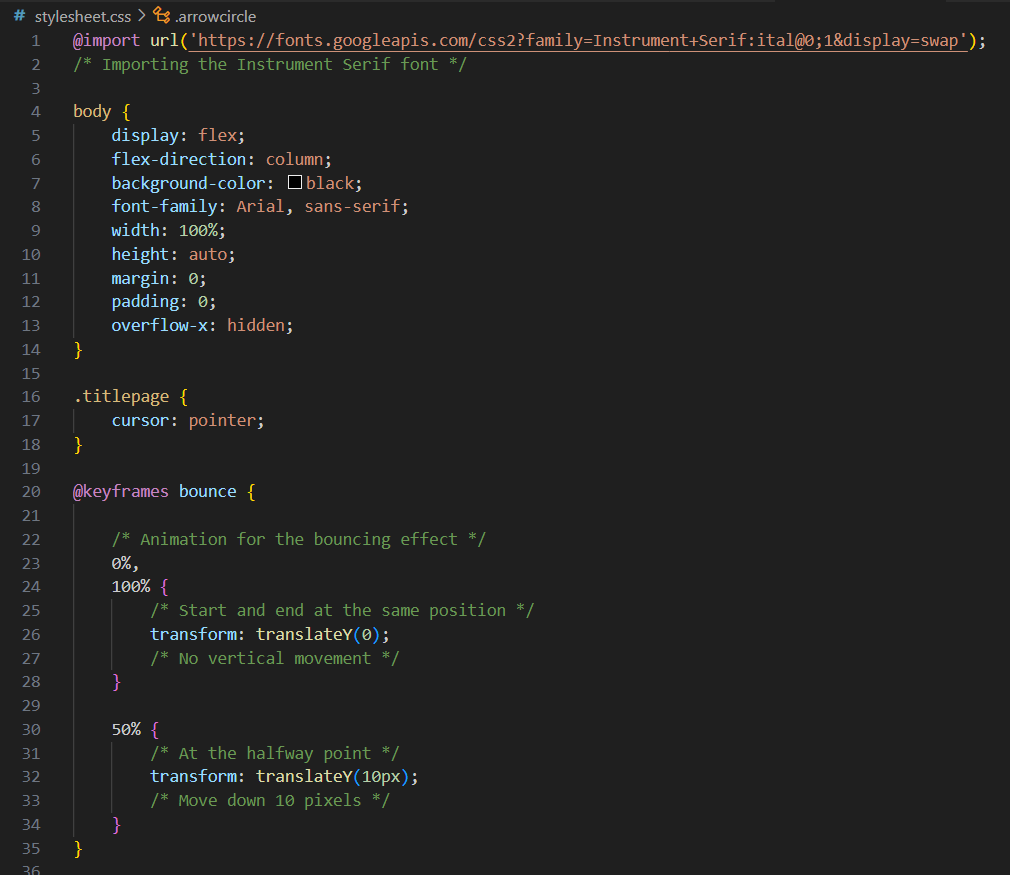
Since then, layout-related CSS properties like display: flex, flex-direction, justify-content, and
align-items come much more naturally to me. I still refer to what I learned from that game when
styling pages today.
Even though I know there's still a lot to learn, I've figured out what learning style works for me:
short, interactive lessons in a game-like format. It helped me understand what I was doing, and
that's something I'll keep using as I continue to learn and improve in development.
Reflection Map Structure
Like I mentioned earlier when talking about the feedback for LO2 during the third assessment of the
semester, my folder structure still needed some work. It wasn't exactly very clear yet. They
specifically pointed out that the CSS and JavaScript should be in separate folders, and that the
amount of HTML files needed a more organized structure.
Now, I have to admit, I wasn't completely sure why the CSS and JS files needed their own folders,
especially since I only have two of them. So for now, I kept them in the root. I do have my images
in a separate folder, and all the project- and learning outcome-related HTML files are now neatly
stored in two dedicated folders. With twelve HTML files total (six for projects and six for learning
outcomes), this made everything much easier to navigate.
If you look at my GitLab now, the structure is a lot cleaner. I did leave a few things in the root,
the README stays there, of course, and I also kept the index and about-me pages in the root since
it's just a couple of files and I didn't really see the need to move them. I still plan to show this
new setup to a teacher to check if there's anything left to improve.
Now for the tricky part: implementing this structural change. Once I moved the files around, I
realized that all the links inside the HTML files had to be updated to reflect the new paths. I
thought it'd be a quick fix, just change a couple of links, right? Nope. Every. Single. Link. Every
image, every internal page reference, every stylesheet or script tag, they all needed adjusting.
Since most of the HTML files are now in subfolders, I had to use ../ to go back up a directory and
make sure everything still loaded properly.
This ended up taking a lot more time than I expected, but it was a great learning moment. The big
takeaway for me: always set up your folder structure at the start of a project. I've talked about
this with another student who studies infrastructure, and he told me he made the exact same mistake,
and just like me, only once. Apparently, it's a classic learning curve.
In the end, everything works properly again, and the project is much easier to navigate, both for me
and anyone else who views the repo. On to the next project, and this time with a solid folder
structure from the beginning.
VS Code Workflow Improvements
Once you start building websites or coding projects more often, typing out the same standard HTML
and CSS structure becomes really mundane and annoying. Before this semester, I was literally typing
every single element by hand, which was time-consuming and not very efficient.
Over the course of the semester, I've learned some great little tricks to speed up my workflow. For
example, in VS Code, you can type an element and multiply it by a number to quickly generate
multiple copies of it. Also, the basic HTML structure, including the
, <head>, and <body> tags, can be generated instantly by typing an
exclamation mark (!) and hitting enter. This might seem obvious now, but before I learned this, I
had no idea.
On the day I'm writing this, I also discovered you can automatically generate a class name while
creating an element. For instance, if you type div.myClass and press enter, VS Code instantly
creates a <div> with the class myClass. This saves you from typing out the class attribute
separately.
Alongside the more challenging things I've learned this semester, these simple tricks are super
useful. I'm definitely going to keep using them throughout my studies and career to code more
efficiently.